I have since made another and decided to do up a quick tutorial for those of you who want to give it a go yourselves.
Supplies
Clear VinylBlack Vinyl (or the colour of your choice)
Photos printed to fit on your keyring
Eyelet for the hole (these usually come in a kit with a tool and instructions)
General sewing supplies
Let's Get Creative
Start by cutting your vinyl. You'll need two black and two clear pieces. I cut mine 2 X 2.5 inches but you can make yours any size you like. If you don't have a rotary cutter you can just use scissors.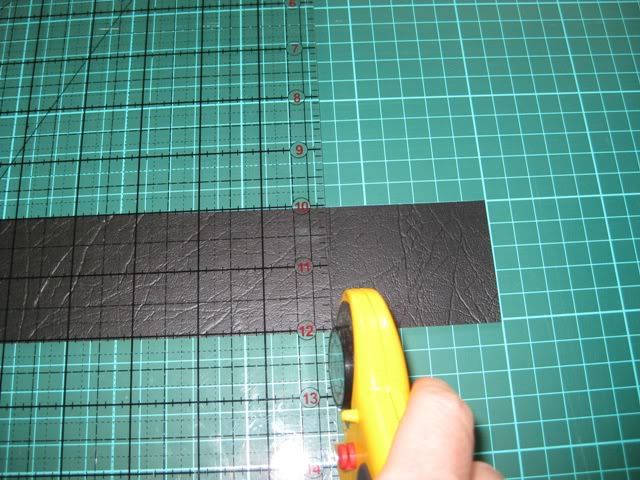
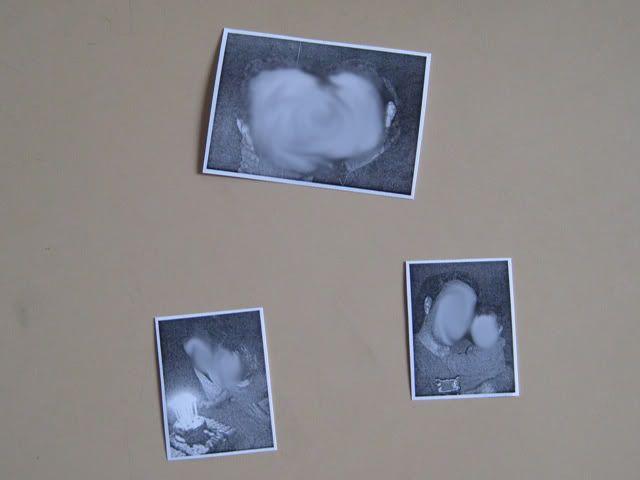
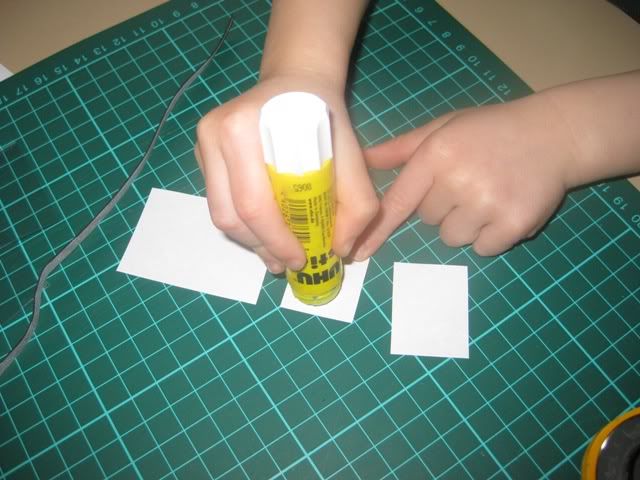
Once you have your photo's, use acid free glue to stick them onto the black vinyl to stop them slipping whilst you sew them on. (This is a good stage to let little hands help if they want to!)
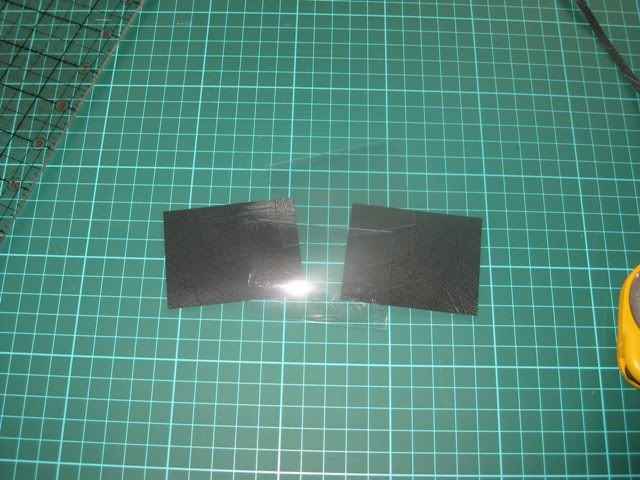
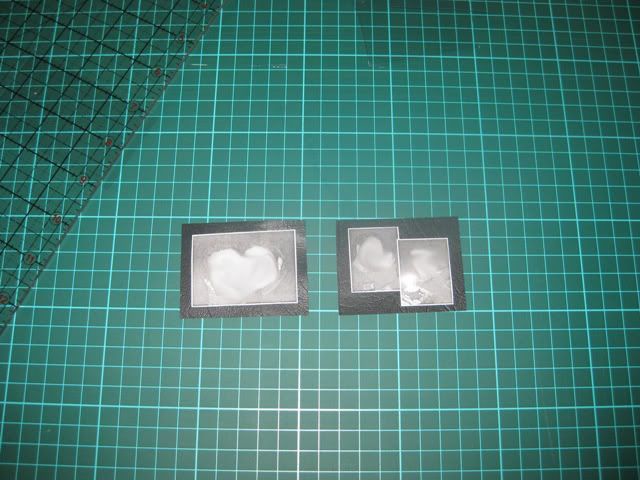
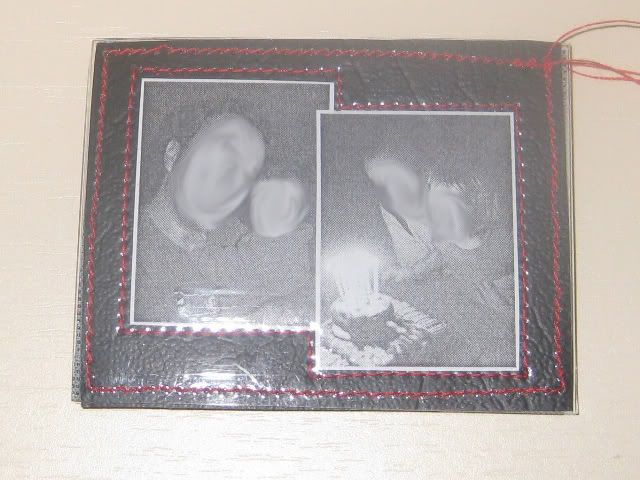
Here are the two black pieces of vinyl with the photo's stuck on. These will eventually come together to form the front and back of the keyring but that's a few steps away just yet.
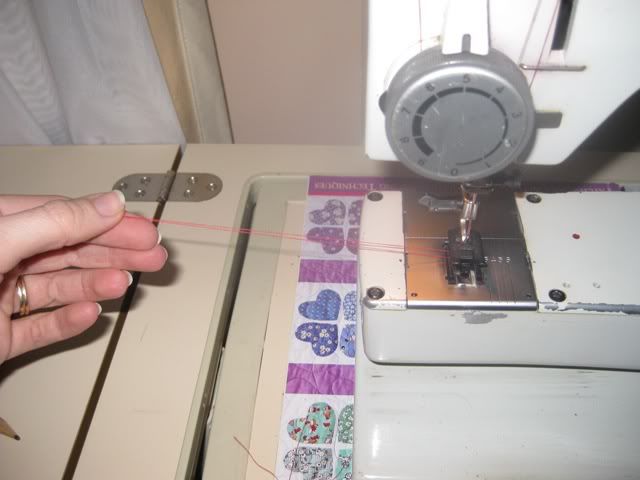
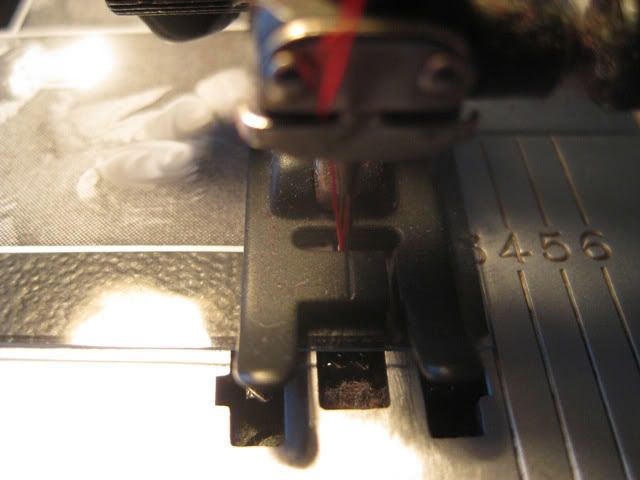
Make sure you turn your vinyl over to check the tension on the back and adjust if necessary. You can also change your stitch length at this time if you would like. I set mine at a stitch length of 2. Once you have your machine set up and ready to go, make sure you pull your threads to a fairly long length to begin.
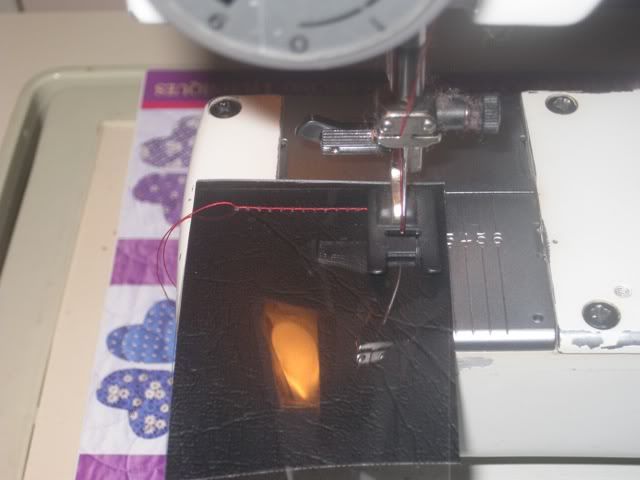
The next thing you need to do is stitch around the photos. To do this, take one side of the keyring (both the black and clear vinyl) making sure it's all lined up and carefully stitch close to the edge of the photos. Don't backstitch when you start and finish sewing, just make sure you leave your threads long enough to tie knots.
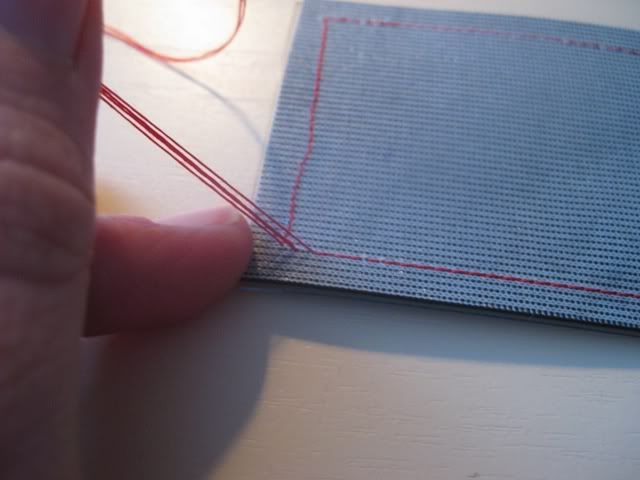
You should now have two sides of your keyring with the photo's stitched in place and long threads still hanging off. You need to flip these over and pull your threads through to the back of each side then tie them in a knot to secure them before cutting them off.
Now you want to take both sides and place them wrong side together.
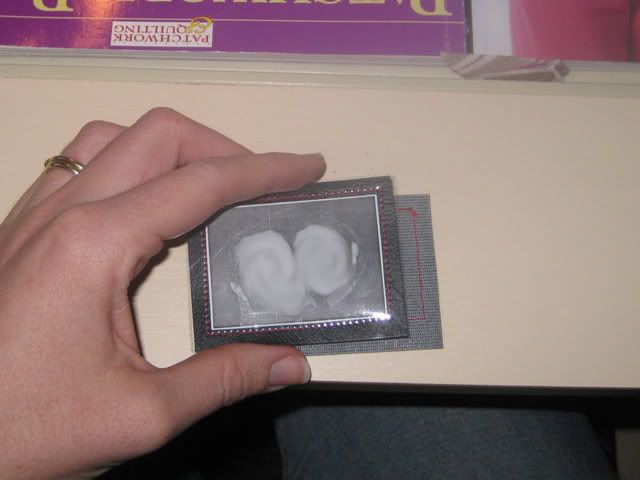
Line up each side so they are even and then stitch all the way around the outside to secure. (I started and ended my stitching in the corner where the eyelet would go as I thought that it would be less visible.)
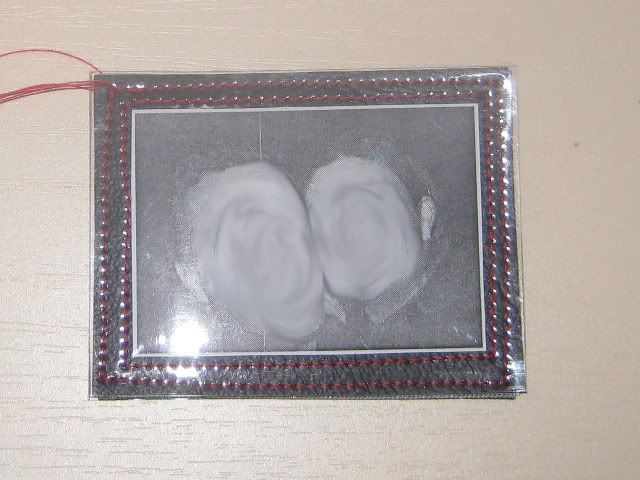
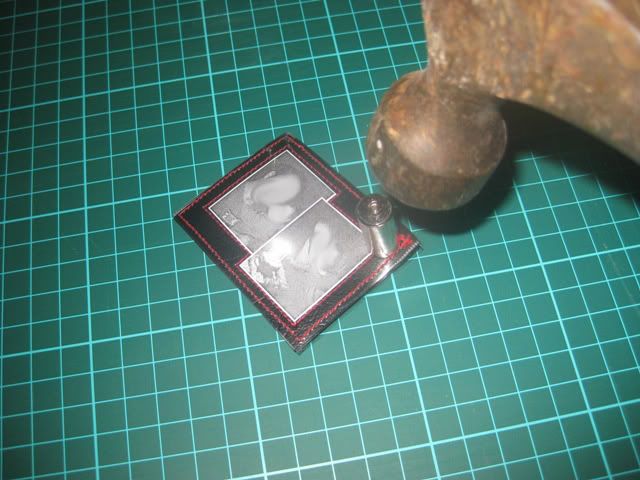
You're almost finished. The next step is to add your eyelet. You will need to punch a hole in your vinyl first to get your eyelet through and then attach following package directions.
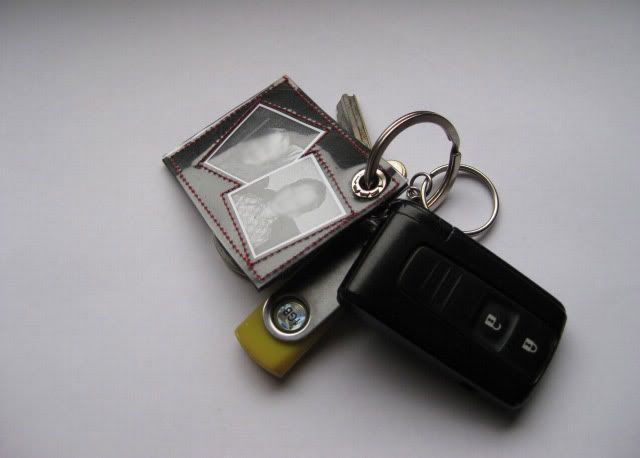
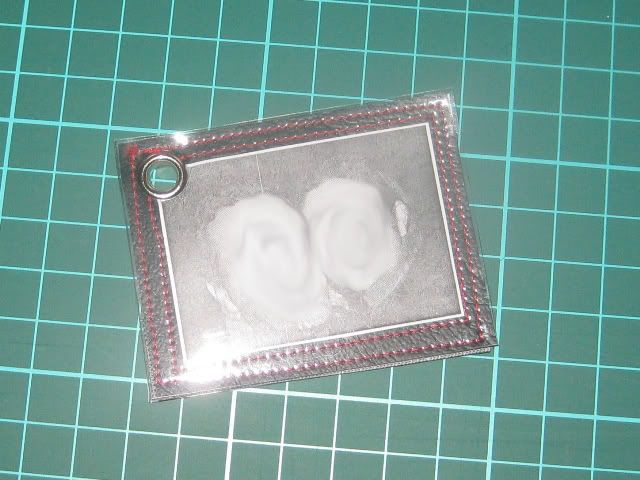
You're all done. Now you can give it as a gift to a special loved one or keep it for yourself.
Happy Crafting!
Kat
Hi Kat,
ReplyDeleteThanks so much for this tutorial! I have just made one of these key rings for a friend and I like it so much that I'm making myself one too :)