Showing posts with label tutorial. Show all posts

Saturday, 30 June 2012

Fabric Memory Game Tutorial

Are you in need of a quick sewing project to use up some scraps in your stash?  This fabric memory game fits the bill and is perfect as a gift for little ones of any age.  

If you find the right fabric, you can make an applique game like this.


Or just use different fabric squares to create a memory game like this.
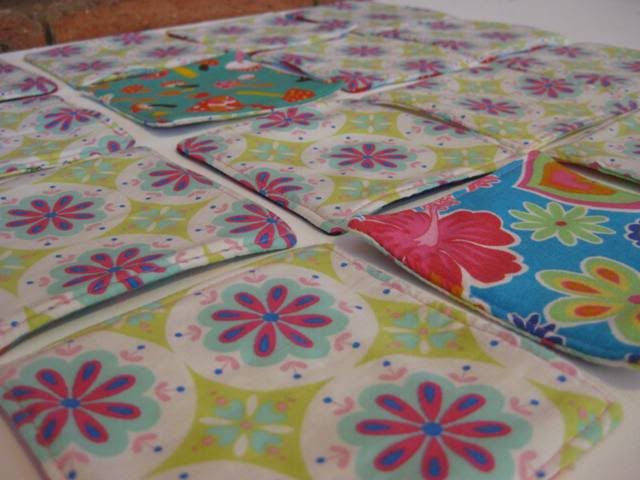
Once they're complete, whip up a couple of clear vinyl bags using this tutorial and you're ready to give a unique gift that can be used over and over again.

This tutorial goes into detail on how to make the scrappy version but it's the same process for the appliqué version.  You just need to appliqué your pictures onto each plain front square instead of cutting matching scrappy squares.

Before I start, I should mention that I have used a 1/2 inch seam allowance.  I use this size on all my craft projects to give me a little room for error.  Hey, I'm not perfect;-)

Supplies
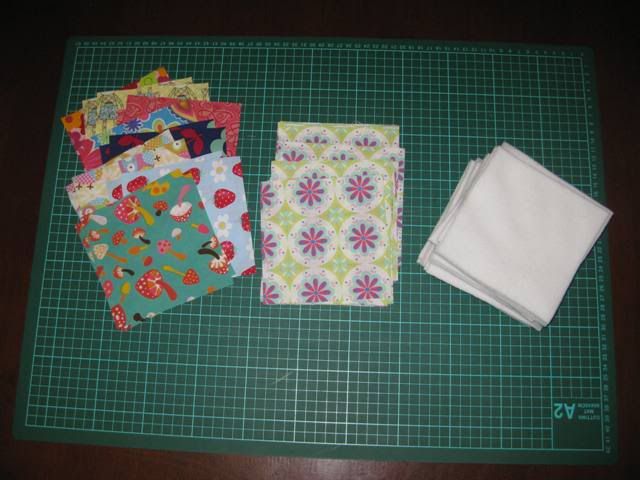
Backing fabric (this needs to be a solid color or a simple print so each square looks exactly the same)
Different fabric scraps for the front.  I made 16 squares so used 8 different fabrics.
Batting to give the cards some strength (I had run out of batting so used polar fleece instead)
Other basic sewing supplies

The Fun
Start by cutting out all your pieces, I used a 5 X 5 inch square.  For this game, I made 16 squares so I obviously cut 16 backing squares, 16 pieces of polar fleece and 2 X 8 squares for the front of my cards.
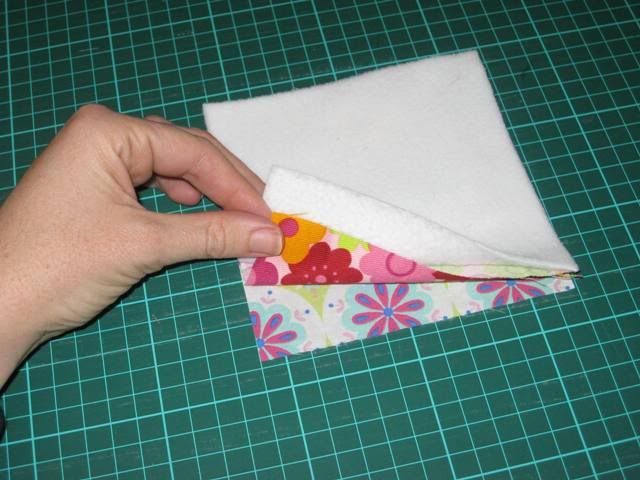
Now layer the squares like a sandwich with right sides of your fabric together and polar fleece on top.
Pin all the way around.  (I flipped my sandwich over before I pinned.)

Stitch around the outside using a 1/2 inch seam allowance but make sure you leave an opening on one side for turning through.

Cut the corners and trim the seam allowance to about 1/4 inch on all sides except for the one with the opening.  If you look closely, you can see my stitching line and the opening with the larger seam allowance untrimmed.
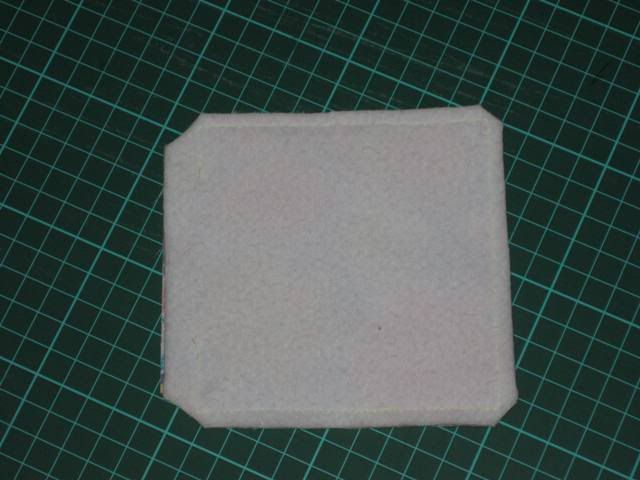
Turn through, making sure you push the corners out well and press.  (Excuse the state of my ironing board.)

Now top stitch around the outside of the whole square, stitching the opening closed in the process.  (Sorry about the change of fabric, it is the same game, just a different square.)

Repeat the process for the other squares and you have a fabulous memory game.  You can make it as simple or as difficult as you like and it's perfect for little ones as the cards are durable and can be thrown in the wash if they get dirty.

Saturday, 26 May 2012

Personalised Keyring Tutorial

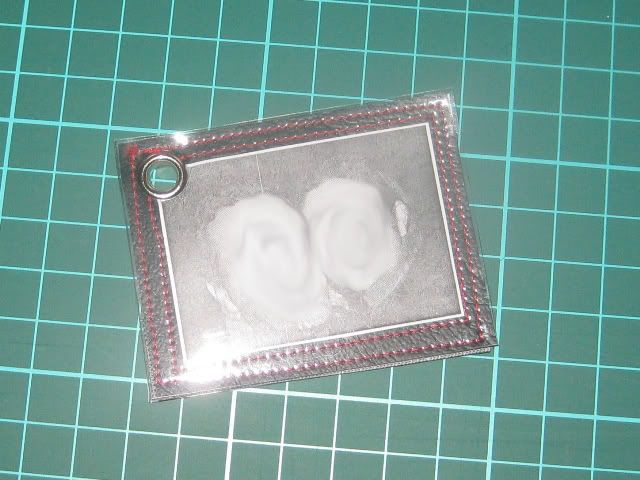
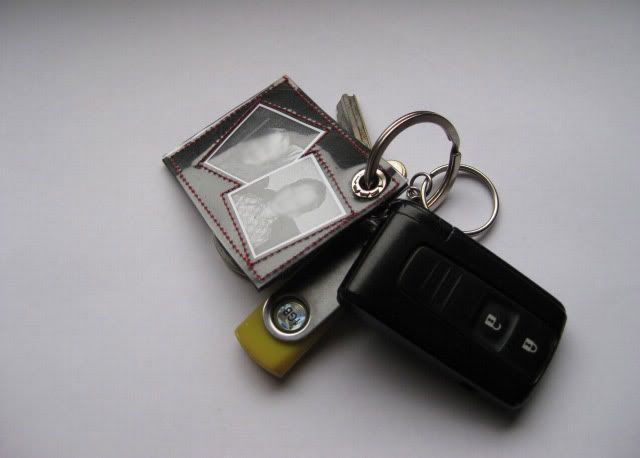
Last year, I made this keyring for my husband's birthday.  I saw the idea in a magazine I borrowed from the library (sorry I can't remember which one) and decided it was the perfect handmade gift for hubby.


I have since made another and decided to do up a quick tutorial for those of you who want to give it a go yourselves.

Supplies

Clear Vinyl
Black Vinyl (or the colour of your choice)
Photos printed to fit on your keyring
Eyelet for the hole (these usually come in a kit with a tool and instructions)
General sewing supplies

Let's Get Creative

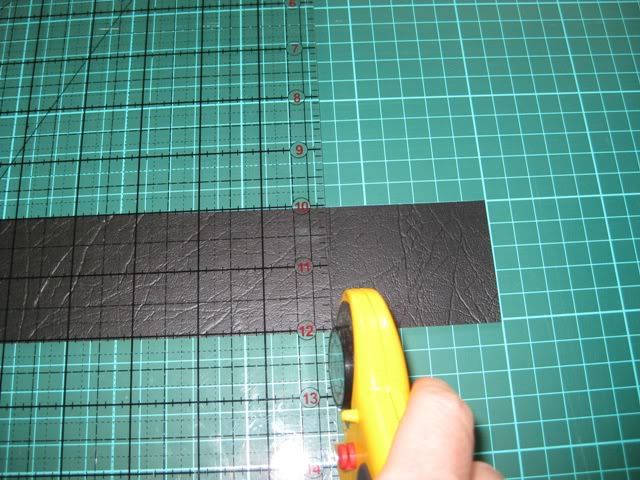
Start by cutting your vinyl.  You'll need two black and two clear pieces.  I cut mine 2 X 2.5 inches but you can make yours any size you like.  If you don't have a rotary cutter you can just use scissors.


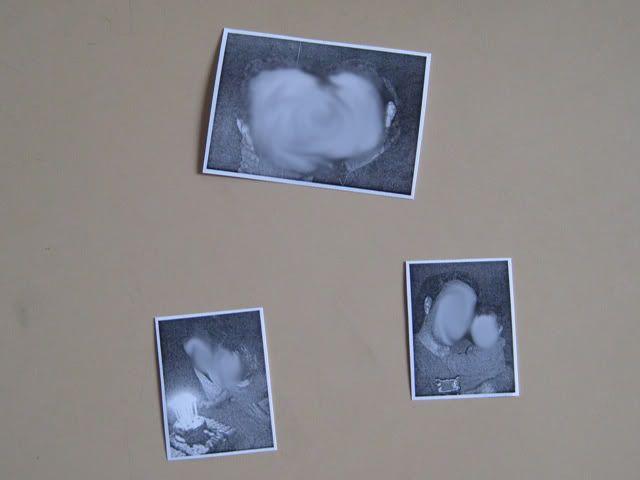
Next you'll need to choose your photos and print them out, making sure they are small enough to fit on the keyring with room to sew around.  I just printed my photos at home but you could get them printed professionally if you wanted them a better quality.

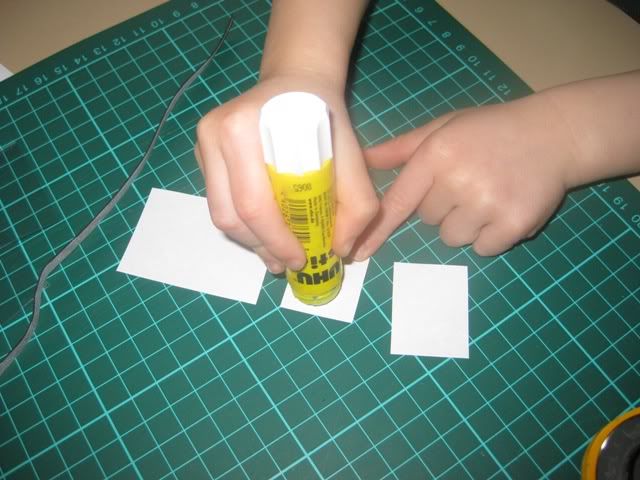
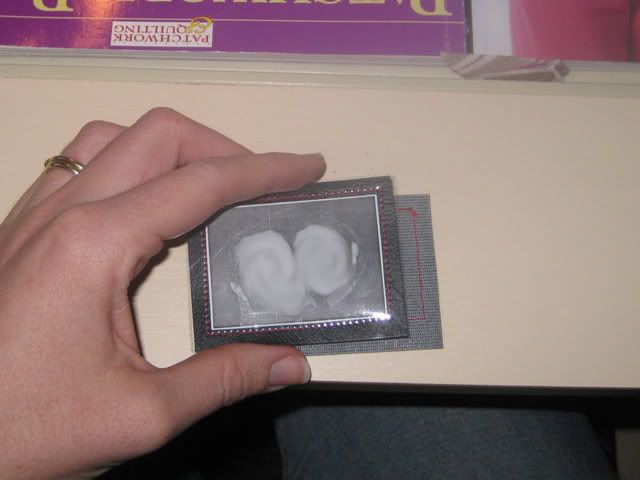
Once you have your photo's, use acid free glue to stick them onto the black vinyl to stop them slipping whilst you sew them on. (This is a good stage to let little hands help if they want to!)

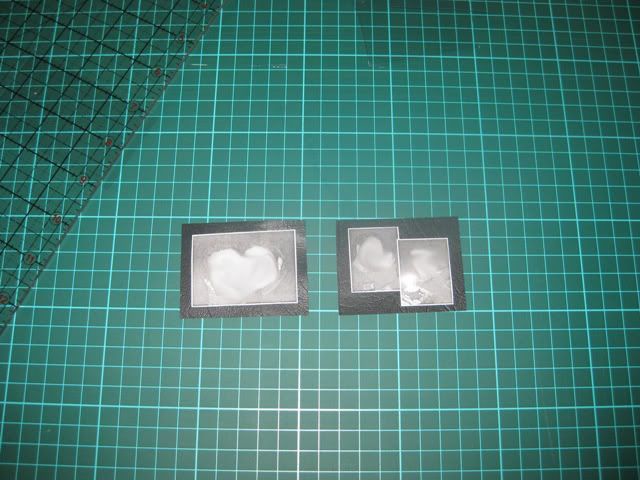
Here are the two black pieces of vinyl with the photo's stuck on.  These will eventually come together to form the front and back of the keyring but that's a few steps away just yet.

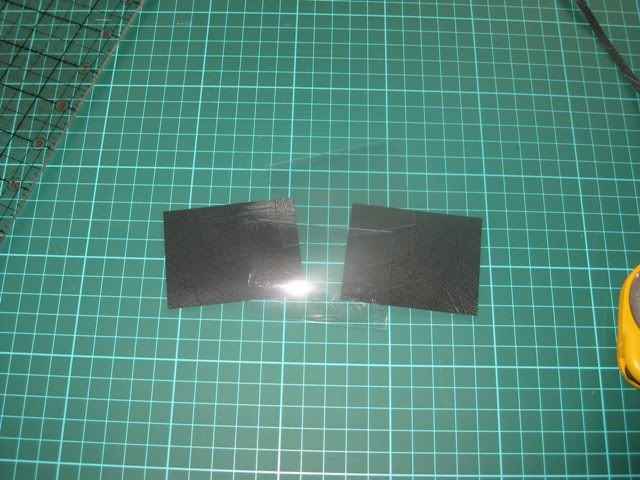
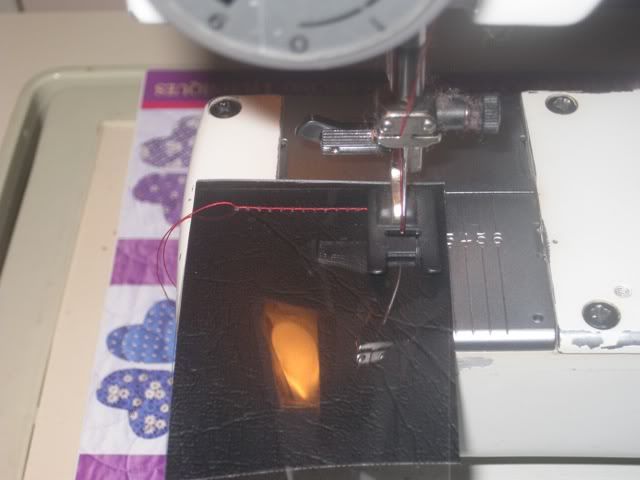
Once you have the photo's in place, you need to take your clear plastic vinyl and lay it on top of each black piece.  You are just about ready to start stitching but at this point, I recommend you check the tension and stitch length on your machine.  Do this using a scrap of black and clear vinyl placed together and do a few test stitches as I have done here.

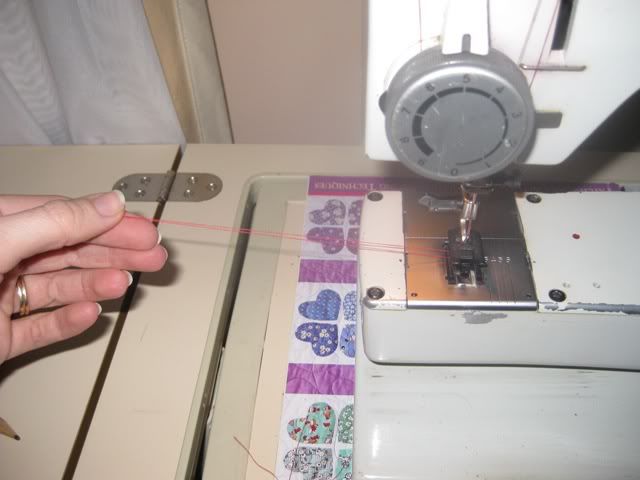
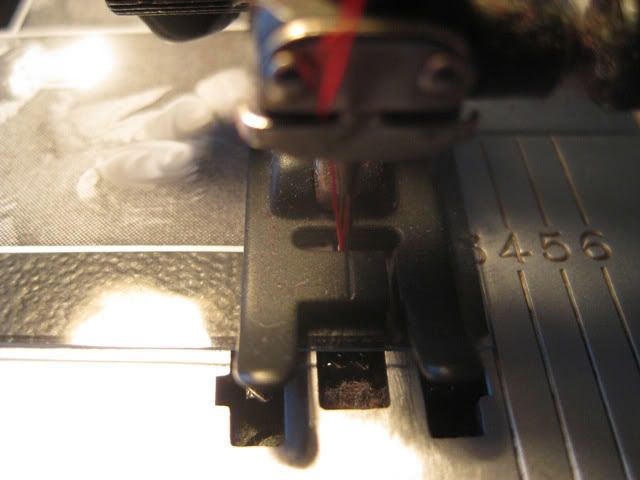
Make sure you turn your vinyl over to check the tension on the back and adjust if necessary.  You can also change your stitch length at this time if you would like.  I set mine at a stitch length of 2.  Once you have your machine set up and ready to go, make sure you pull your threads to a fairly long length to begin.

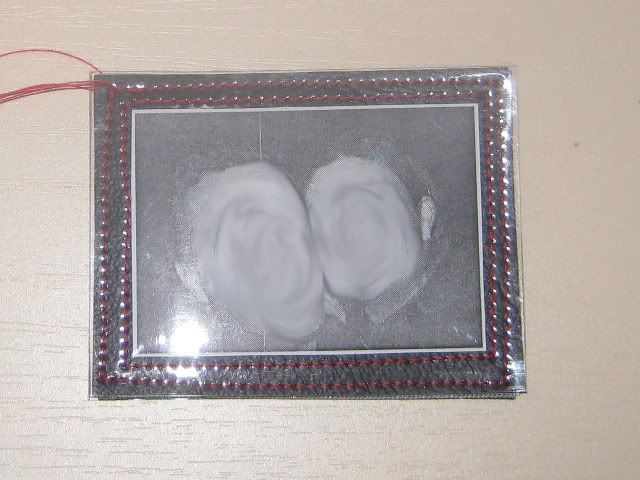
The next thing you need to do is stitch around the photos. To do this, take one side of the keyring (both the black and clear vinyl) making sure it's all lined up and carefully stitch close to the edge of the photos.  Don't backstitch when you start and finish sewing, just make sure you leave your threads long enough to tie knots.

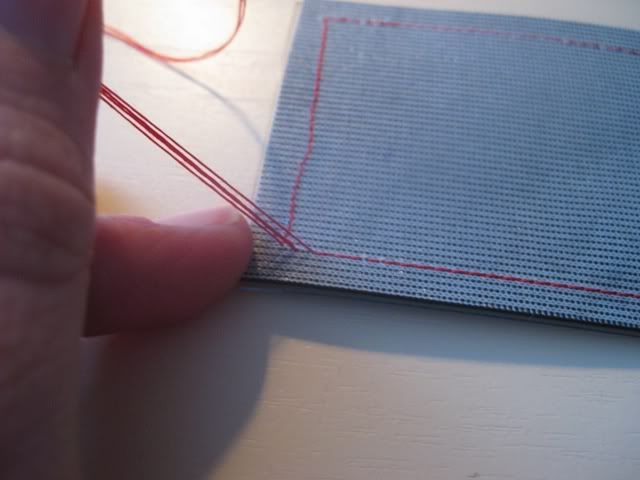
You should now have two sides of your keyring with the photo's stitched in place and long threads still hanging off.  You need to flip these over and pull your threads through to the back of each side then tie them in a knot to secure them before cutting them off.

Now you want to take both sides and place them wrong side together.

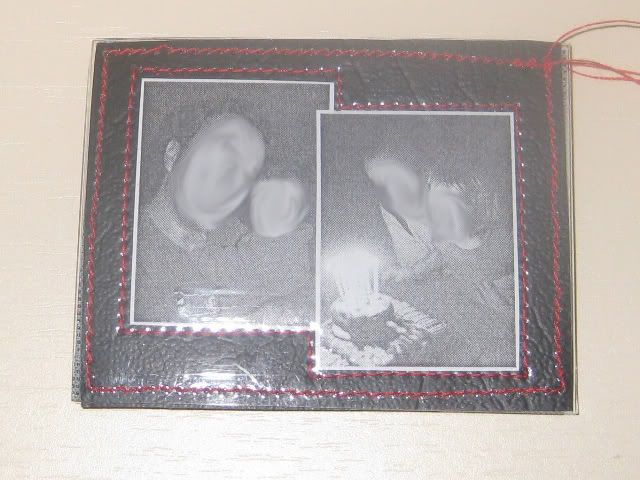
Line up each side so they are even and then stitch all the way around the outside to secure.  (I started and ended my stitching in the corner where the eyelet would go as I thought that it would be less visible.)


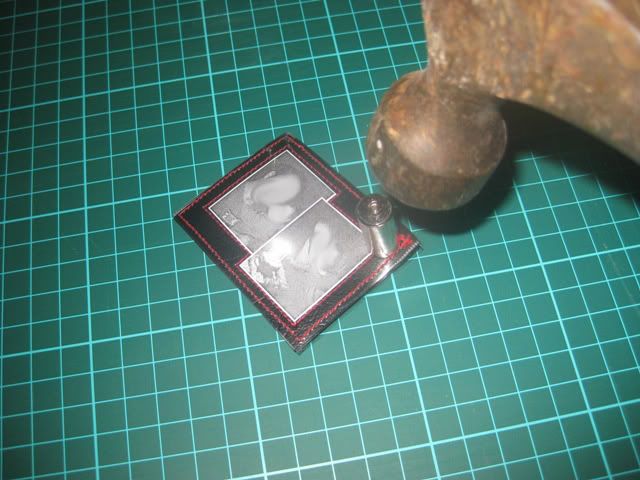
You're almost finished.  The next step is to add your eyelet.  You will need to punch a hole in your vinyl first to get your eyelet through and then attach following package directions.

You're all done.  Now you can give it as a gift to a special loved one or keep it for yourself.

Remember, if you do make one of these, please leave a comment as we love to see your creations.

Happy Crafting!
Kat